Skip to content
All case studies

Case study #001 · Milwaukee M18 3/4″ Impact Wrench

Casing Replacement

Repair process

  1. 01Strip Down
  2. 02Clean
  3. 03Regrease
  4. 04Rebuild
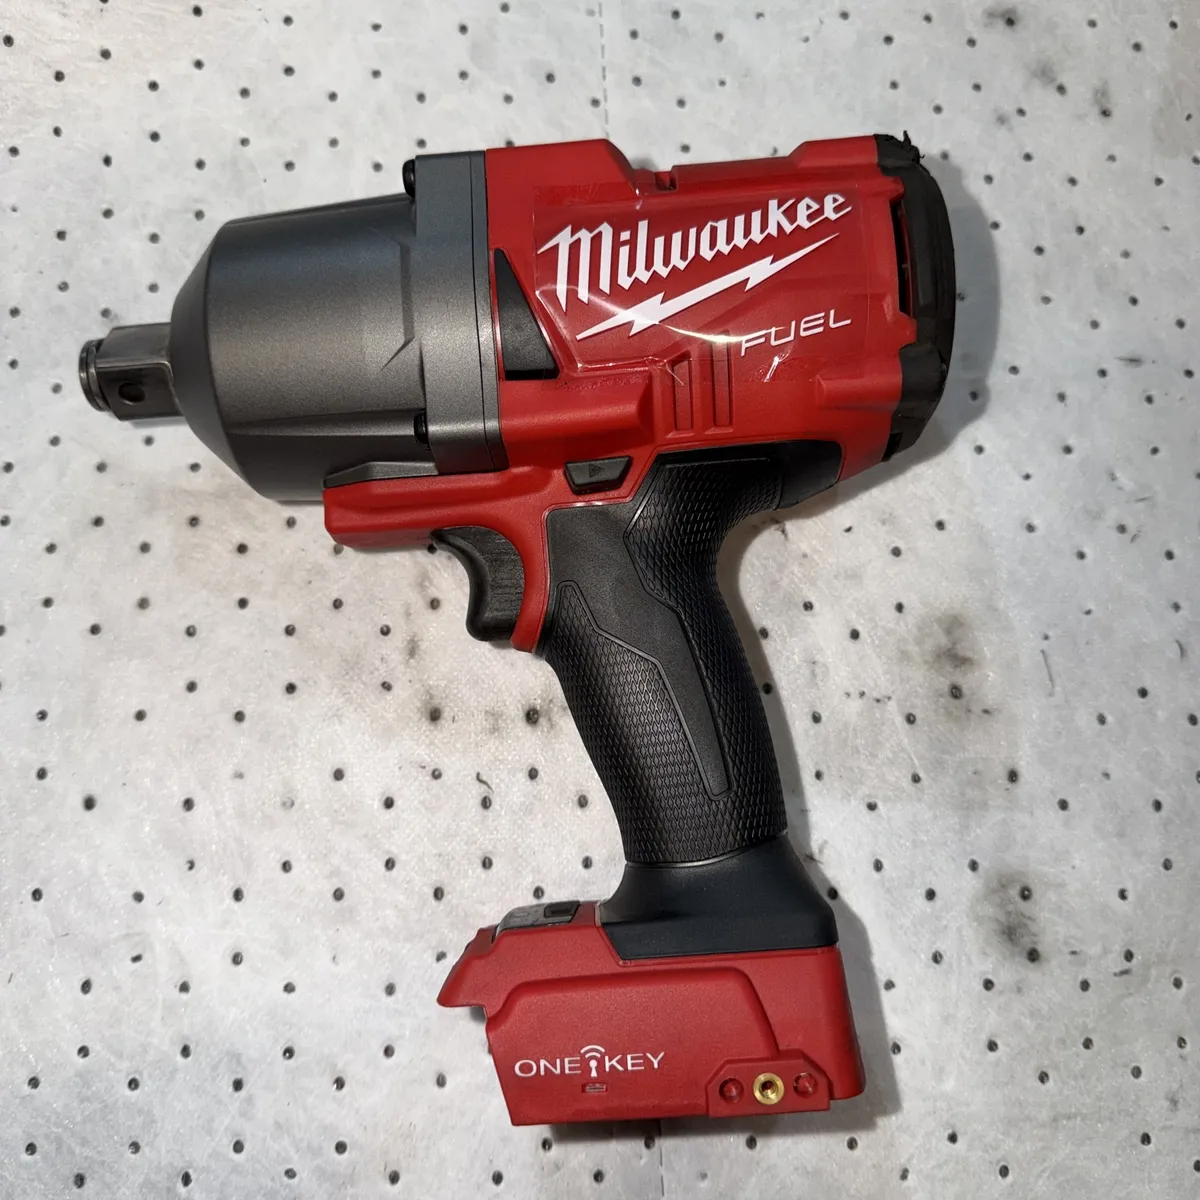
Milwaukee M18 FUEL ONE-KEY impact wrench after refurbishment, with clean red housing and fresh labels
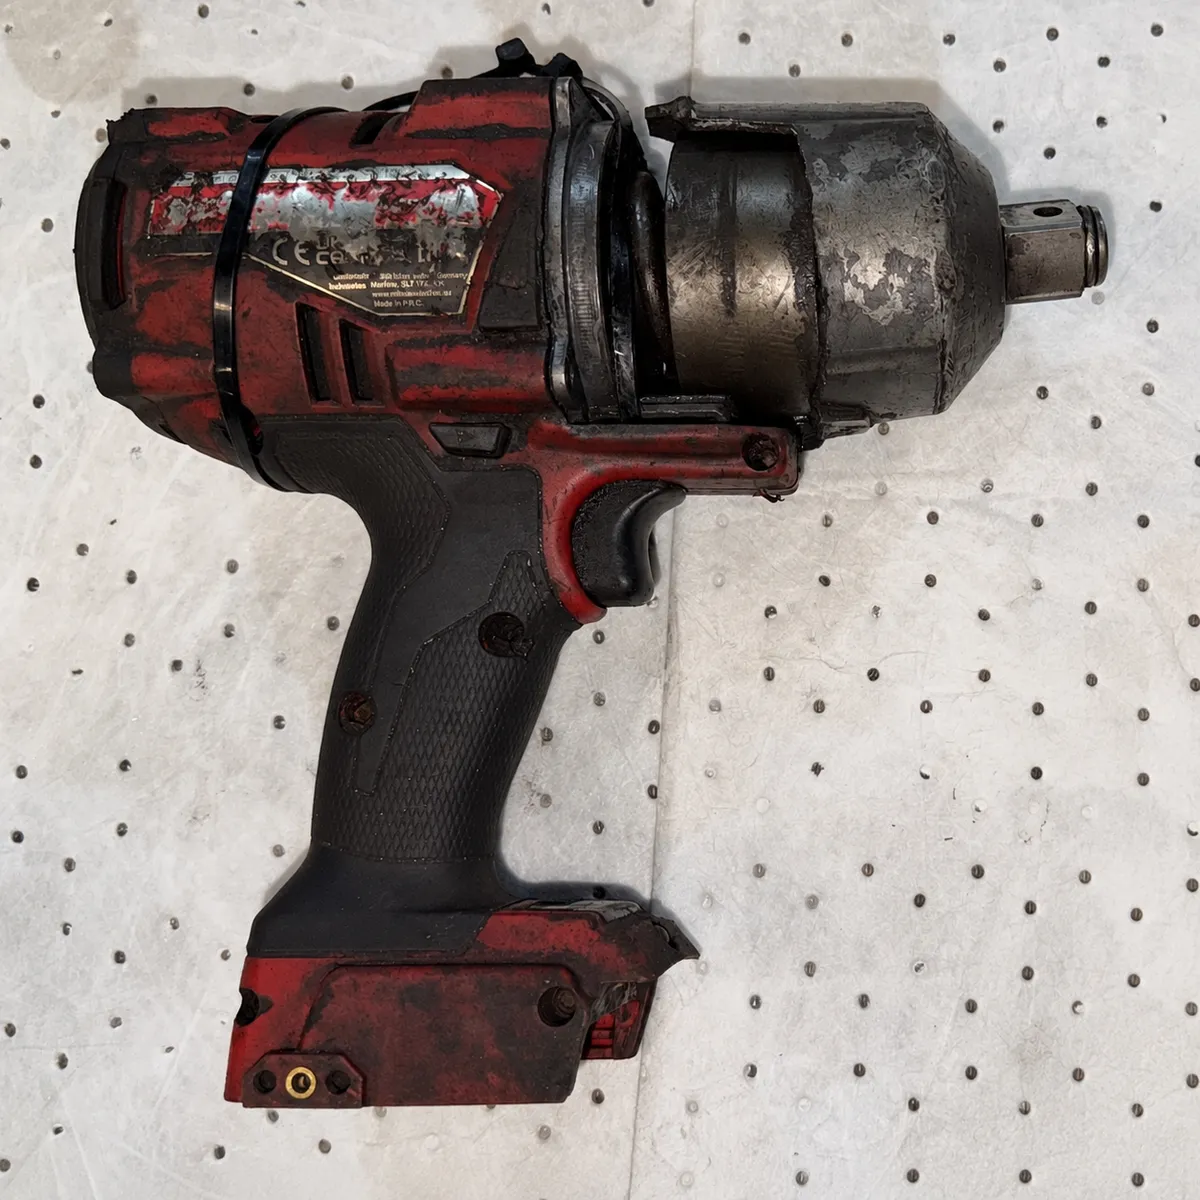
Worn Milwaukee M18 FUEL impact wrench before refurbishment, with scuffed red housing and tarnished nose
BeforeAfter

The result

This Milwaukee M18 3/4″ impact wrench came in after being run over, leaving the outer casing heavily damaged. The aim was to replace the damaged casing and give the tool a new lease of life rather than write it off and replace the entire unit.
Drag the slider to compare

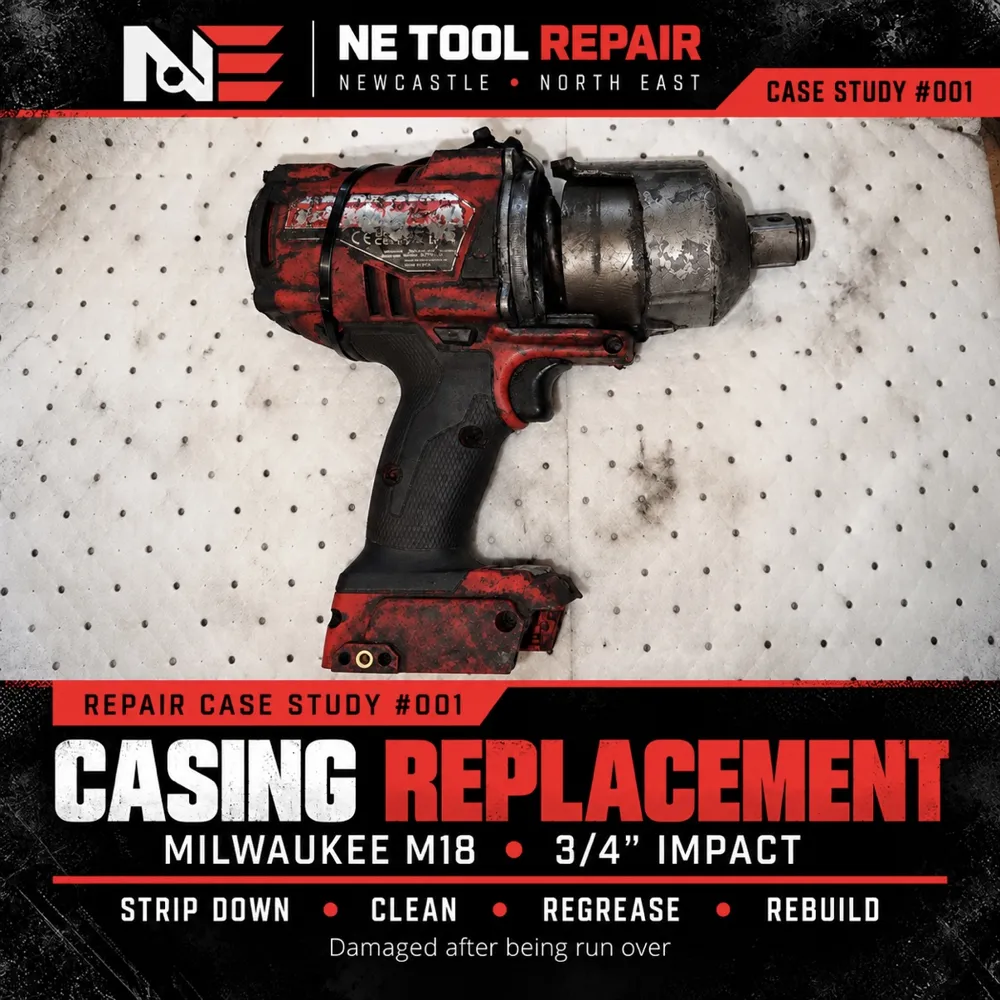
Case study 001: Milwaukee M18 3/4 inch impact wrench in for casing replacement after being run over

Step 01Casing Replacement

Casing Replacement

This Milwaukee M18 3/4″ impact wrench came in after being run over, leaving the outer casing heavily damaged. The aim was to replace the damaged casing and give the tool a new lease of life rather than write it off and replace the entire unit.
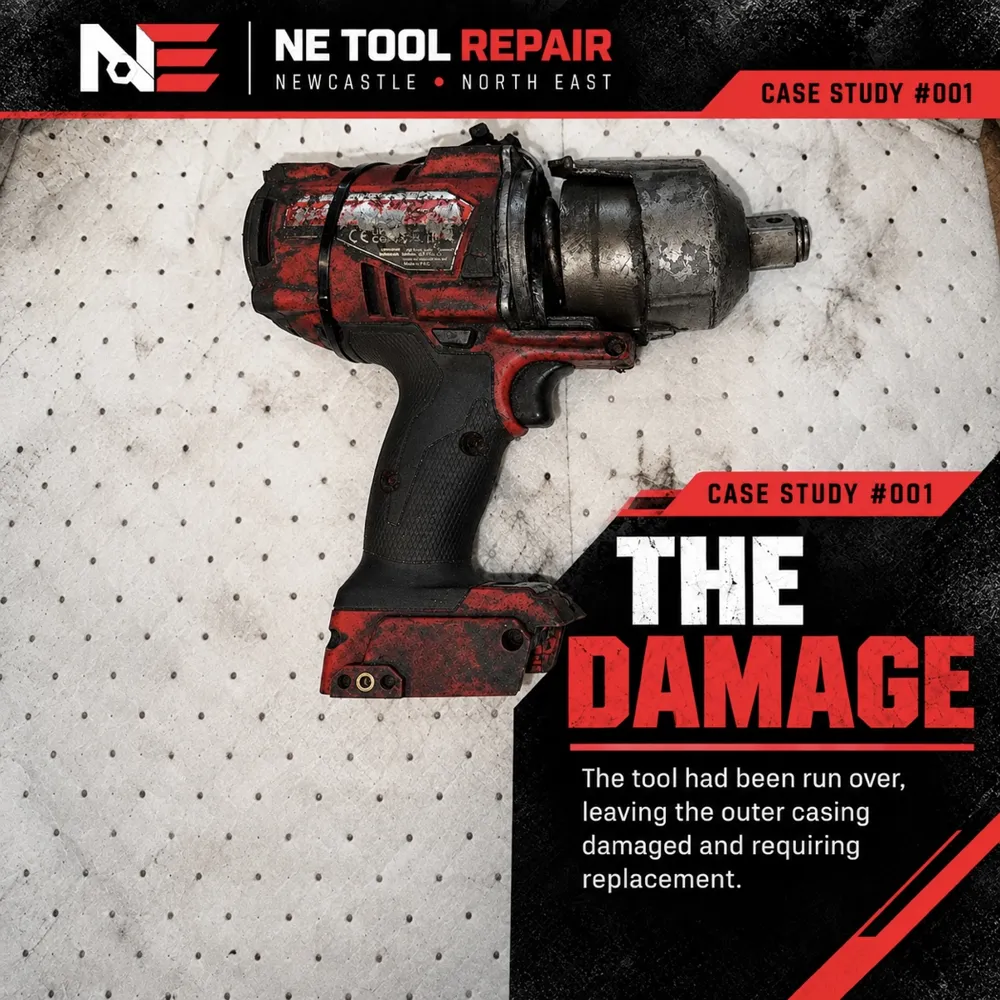
Damaged outer casing on a Milwaukee M18 3/4 inch impact wrench that had been run over

Step 02The Damage

The Damage

The tool had suffered significant external damage after being run over. The casing was badly scuffed and marked, affecting its overall condition. Before carrying out the repair, the tool was stripped down to access the internal components and prepare for the casing replacement.

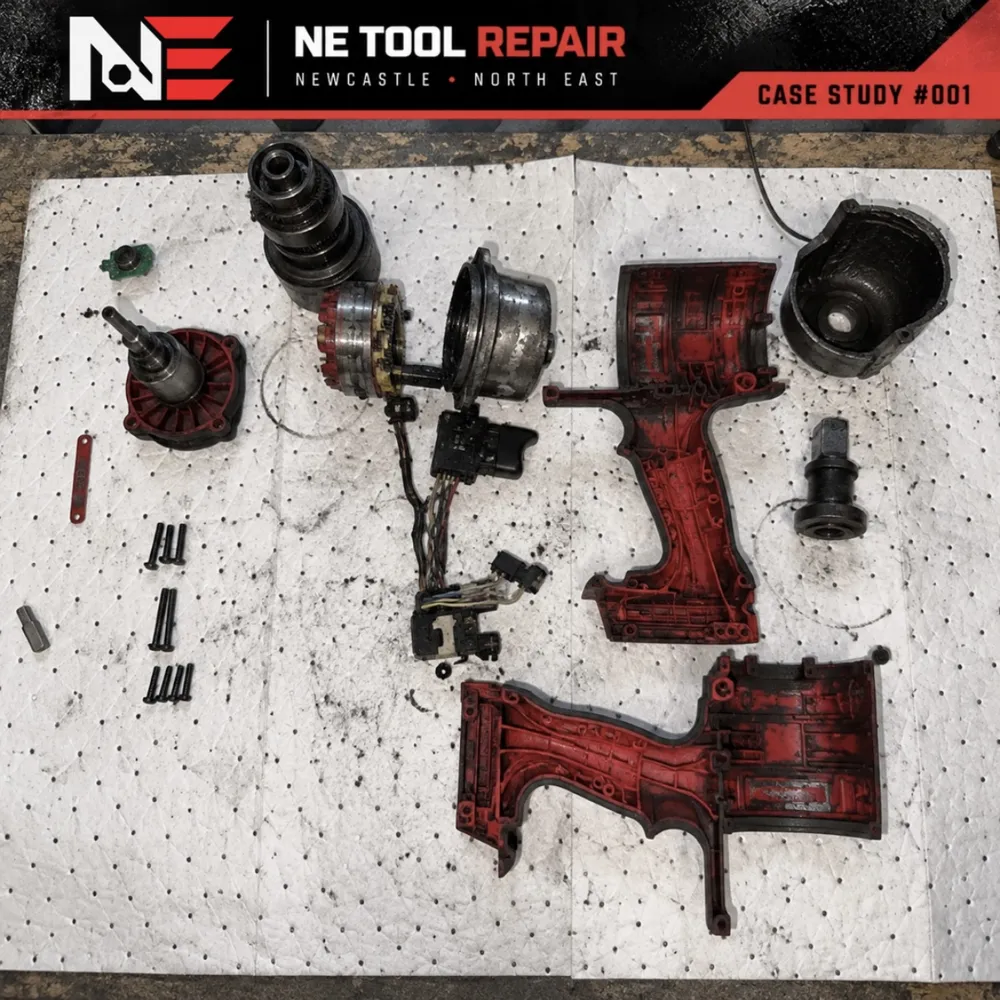
Milwaukee M18 impact wrench fully stripped down on the bench, with internals laid out for cleaning

Step 03Strip Down

Full Disassembly

The impact wrench was carefully dismantled, separating the casing and exposing the internal components. The parts were laid out for inspection, allowing the tool to be cleaned and prepared for reassembly. This step-by-step approach helps ensure the repair is carried out properly, with care taken over the internal mechanisms and electronics.

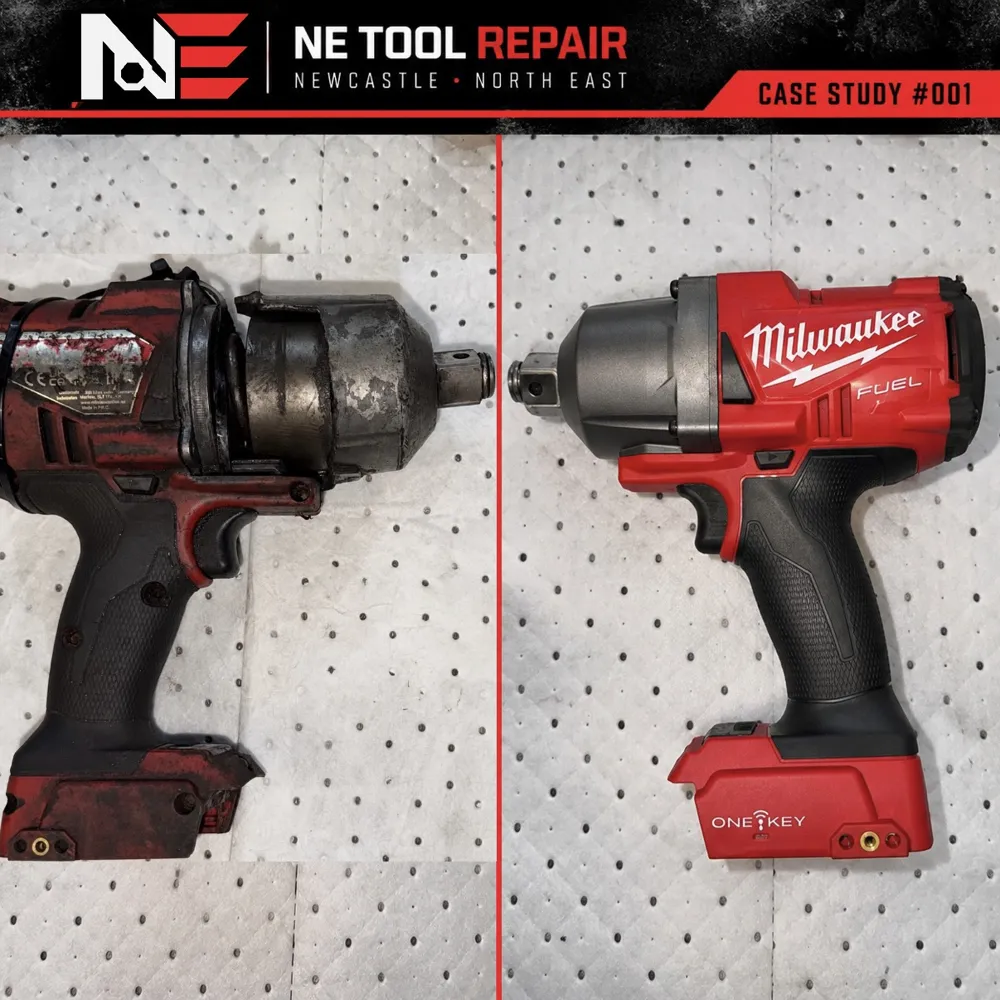
Side-by-side before and after of the Milwaukee M18 impact wrench with its new genuine Milwaukee casing

Step 04Before & After

Restored & Rebuilt

With the damaged casing replaced, the internal components cleaned, fresh grease applied and the tool rebuilt, the impact wrench was transformed from its heavily damaged external condition. This repair demonstrates how replacing damaged components and carrying out a careful rebuild can be a practical alternative to replacing an entire power tool.

Practical repairs.Careful workmanship.Less waste.

At NE Tool Repair, we believe in repairing tools wherever practical. Every repair starts with an assessment, followed by careful disassembly, cleaning, component inspection and reassembly. Our goal is to help extend the working life of power tools through practical repairs and careful workmanship.

NE Tool Repair — Newcastle • North East

NE Tool Repair logo

Independent power tool repair and refurbishment in Newcastle upon Tyne & the North East.

WhatsApp

07464 554850

Service area: Newcastle upon Tyne & the North East

© 2026 NE Tool Repair. All rights reserved.

NE Tool Repair is an independent repair business and is not affiliated with, authorised or endorsed by Milwaukee Tool. Brand names are used only to describe the tools we work on.

We only use essential storage needed for this site to work. No advertising cookies. Privacy & cookies